I love making my own chicken fingers. Growing up, I can remember my mom buying the Shake ‘n’ Bake stuff to bread the chicken…I’ve done that before, but I very much prefer making my own breading. Once I breaded the chicken with sour cream and onion potato chips…so good! I’ve also breaded chicken with pretzels…I thought it was absolutely delicious, my husband did to…kids, not so much.
Tonight I decided to make an old favorite, baked Catalina Crunch chicken fingers!
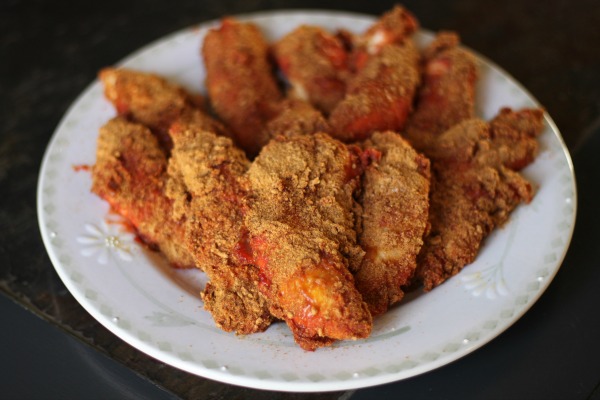
Catalina Crunch Chicken Fingers
Ingredients
- 16 oz. Bottle Zesty Catalina Dressing
- 2 cups Fiber One Cereal, crushed
- 2 lbs Boneless, Skinless Chicken Tenderloins
- Salt, to taste
- Pepper, to taste
- Garlic Powder, to taste
- 1 cup flour
Directions
- Preheat the oven to 375°. Cover two baking pans with foil (makes clean-up so much easier).
- Crush the Fiber One cereal (a blender works really well…and quick!). Using three bowls, place 1 cup flour in one bowl, Fiber One cereal in the second bowl and the Zesty Catalina dressing in the third bowl. Add salt, pepper and garlic powder to the Fiber One cereal and mix lightly.
- Roll each chicken tenderloin in the flour first, then in the Catalina dressing and end with the Fiber One cereal. You can skip the flour step, if you want, but by rolling the chicken in the flour first, it allows the Catalina dressing to stick to the chicken better.
- Place each chicken tenderloin on the baking sheets and bake for about 30 minutes.
These chicken fingers turned out absolutely delicious! Both kids devoured them, which is awesome! Bella normally turns her nose up at everything that we all like. The kids liked dipping them in ketchup and Ranch dressing, but they were really good all by themselves!
My kids loves chicken fingers so I am definitely going to be trying these out. They looks delicious and easy.